Vertical Indoor Gardens: Maximize Your Space
A vertical indoor garden is one of the smartest ways to grow fresh herbs and greens when square footage is limited. Instead of spreading plants across shelves or tables, you stack them up—using walls, hanging systems, and tower setups to create a garden that grows up, not out. Whether you live in a small apartment, have limited counter space, or just want to make a bold design statement, vertical growing transforms any room into a productive green space. The best part? You'll harvest fresh, homegrown vegetables and herbs within weeks, and the setup is far simpler than you'd think.
What You'll Need
Before diving into building your vertical indoor garden, gather these essentials:
- Vertical containers (wall-mounted planters, hanging baskets, or tower systems)
- Growing medium (quality potting soil, coconut coir, or hydroponic medium)
- Seeds or seedlings (herbs, microgreens, or leafy greens)
- Grow lights (T5 strips, LED panels, or clip lamps—critical for vertical setups indoors)
- Watering system (drip irrigation, self-watering pots, or manual watering can)
- pH testing kit (for monitoring nutrient balance)
- Timer (to automate your grow light schedule)
- Mounting hardware (brackets, hooks, or stands depending on your chosen system)
Types of Vertical Indoor Garden Setups
The beauty of vertical gardening is flexibility. Find the setup that fits your space, skill level, and budget.
Wall-Mounted Planters
Wall-mounted planters attach directly to your wall using brackets or adhesive strips. You arrange them in patterns—pyramids, grids, or scattered designs—to create a living wall. This setup is perfect for apartments and rental spaces because it doesn't require floor space. The downside? Each planter needs individual watering, and you're limited by wall surface area. Start with 5–8 small planters to test the system before committing to a full wall.
Hanging Vertical Gardens
Hanging systems suspend multiple tiers of planters from a ceiling mount or tension rod. The cascading effect looks stunning, and gravity helps water trickle down naturally (especially with drip systems). These work well above kitchen counters, desks, or near windows. The catch? Installation requires ceiling anchors that can handle weight, and you need good vertical clearance.
Tower and Stackable Gardens
Tower systems are vertical columns with planting pockets all around. Each pocket holds a plant, and you stack multiple towers or use a single tall unit. These are modular, space-efficient, and fantastic for microgreens and leafy greens. Some tower systems use hydroponic methods (no soil—just nutrient-rich water), which means faster growth and cleaner hands. Stackable options are ideal if you want to expand gradually.
Shelf-Based Vertical Setup
A tall shelving unit with plants on each tier and grow lights mounted overhead is the most affordable vertical option. It's not as flashy as a living wall, but it's practical, modular, and you can rearrange plants as needed. This setup works everywhere—bedrooms, offices, garages—without any wall damage.
Step-by-Step Setup Guide
Step 1: Choose Your Location
Pick a spot with stable temperature (65–75°F is ideal for most herbs and greens) and away from heating vents or cold drafts. Near a window is nice but not necessary—you'll have grow lights handling most of the work. Make sure you have easy access for watering and harvesting, and consider proximity to a power outlet for your grow lights.
Step 2: Install Your System
If you're doing wall-mounted planters, mark your layout with painter's tape first. Use a level when installing brackets. For hanging systems, ensure ceiling anchors are rated for at least twice the total weight (planters, soil, water, and plants). Test everything before filling with soil and plants.
Step 3: Set Up Lighting
Position your grow lights so they're 6–12 inches above the highest plants. Attach a timer set for 14–16 hours daily (most herbs prefer this rhythm). LED or T5 lights are energy-efficient and don't generate excessive heat, which matters in tight vertical spaces.
Step 4: Add Growing Medium
Fill your containers with quality potting soil. For hanging systems, use pots with drainage holes and catch trays underneath to prevent water dripping on floors or furniture. Some people use self-watering pots, which reduce maintenance and are excellent for busy growers.
Step 5: Plant and Water
Add seedlings or seeds, water thoroughly, and let the soil settle. With wall-mounted systems, you may want to install a simple drip line that connects to a timer—this automates watering and ensures consistent moisture. Check soil daily at first; once you dial in the rhythm, adjust your watering frequency.
Best Plants for Vertical Indoor Gardens
Not every plant thrives vertically. Stick with shallow-rooted, smaller varieties that don't demand enormous amounts of light or water.
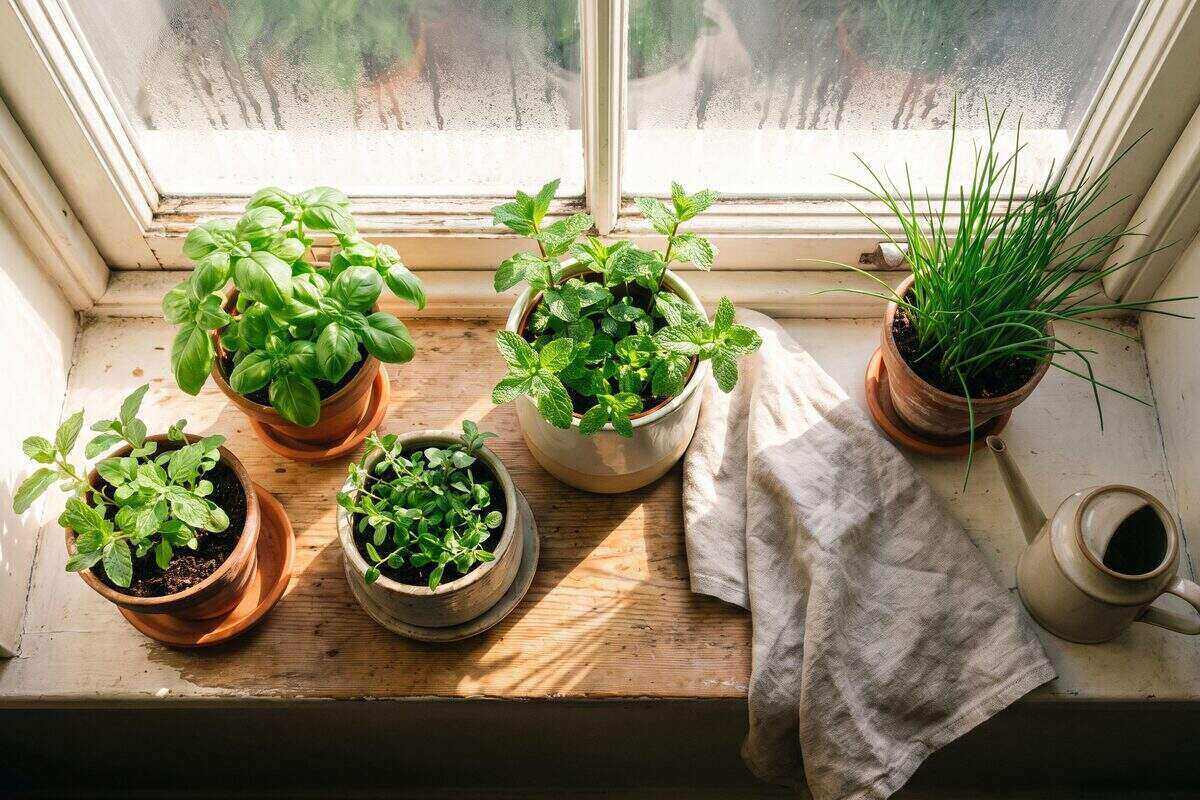
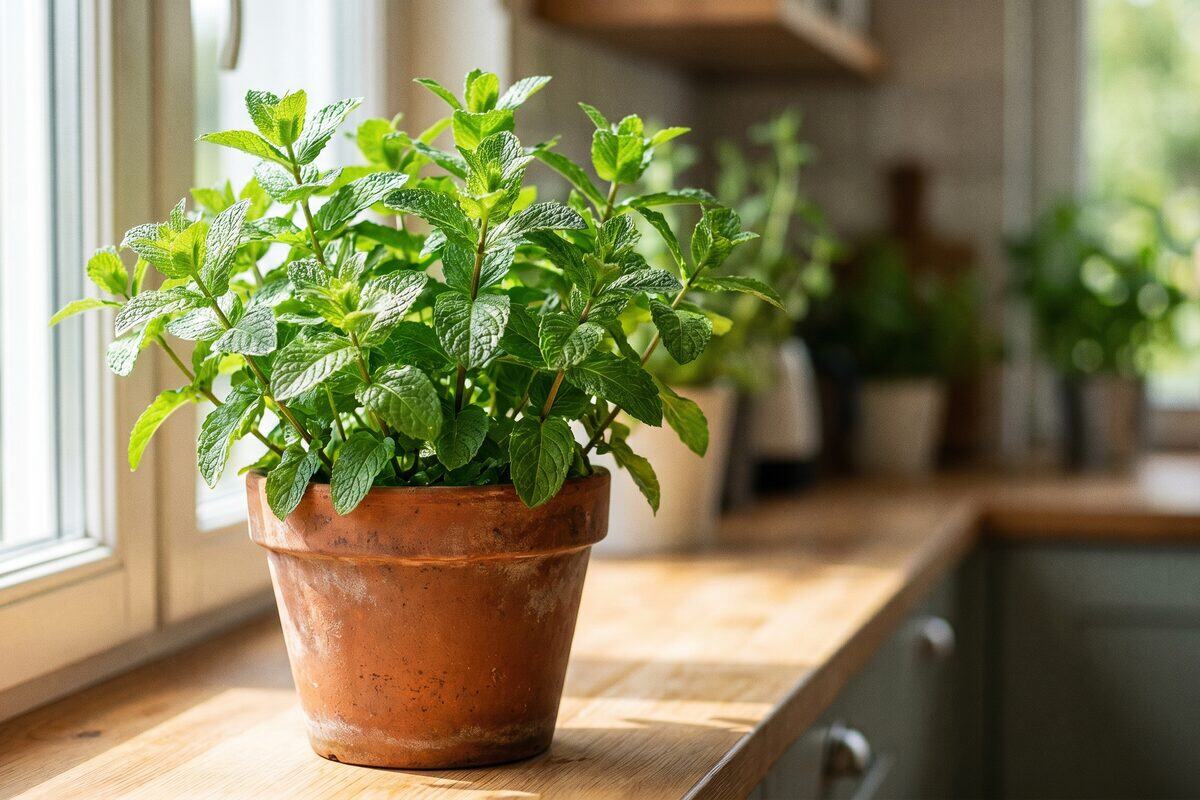
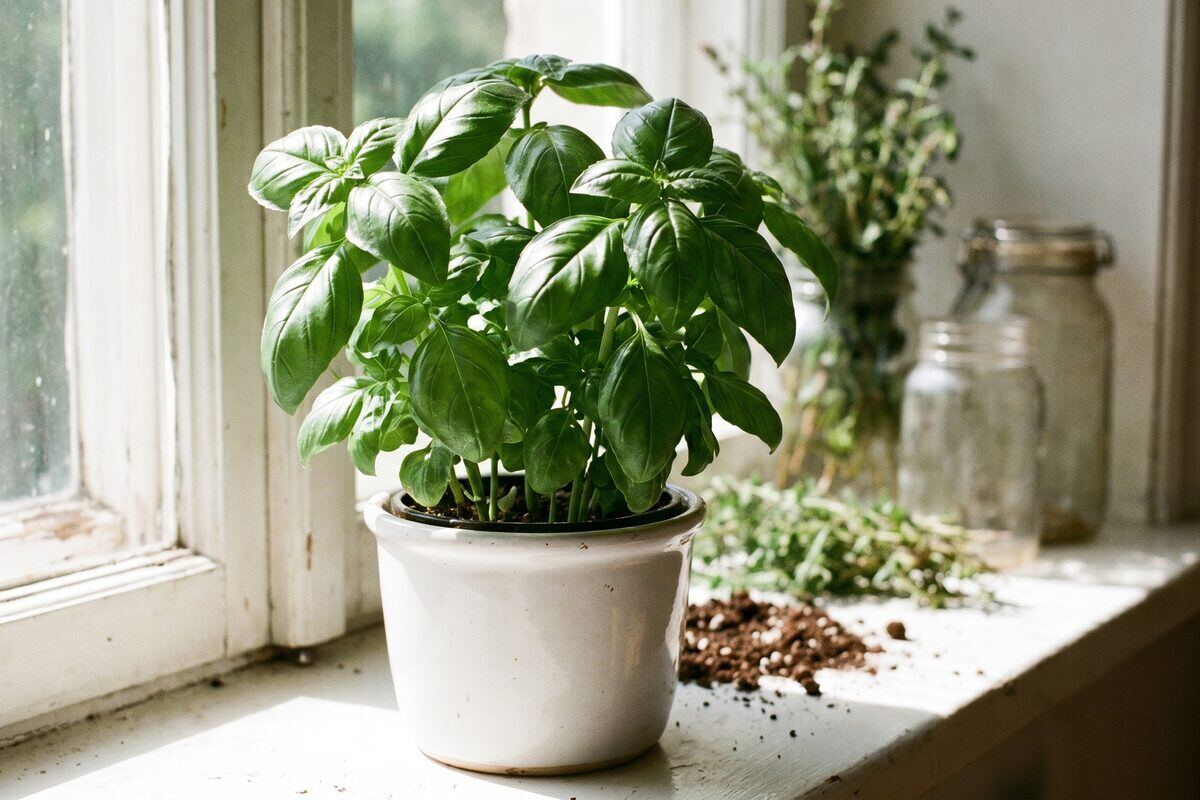
- Herbs: Basil, parsley, cilantro, thyme, oregano, mint, chives. These are lightweight, fast-growing, and perfect for vertical pockets.
- Leafy Greens: Lettuce, spinach, arugula, kale. Shallow roots and compact growth make them ideal for wall-mounted setups.
- Microgreens: Radish, broccoli, sunflower, mustard sprouts. These grow in 1–2 weeks and don't need deep soil—perfect for tower systems.
- Compact Vegetables: Cherry tomatoes (with support), peas, beans, and strawberries work on hanging systems with sturdy supports.
Avoid heavy fruiting plants, root vegetables that need deep soil, or anything that grows taller than your vertical space without pruning. Start with herbs and microgreens—they're forgiving and reward new growers with harvests in weeks.
Grow Lights: Why They're Essential for Vertical Gardens
Here's the reality: most indoor spaces don't get enough natural light for robust plant growth, especially if plants are stacked vertically and blocked from windows by upper tiers. Grow lights are non-negotiable if you want healthy, productive plants.
T5 fluorescent lights are efficient, run cool, and are great for herbs and microgreens. LED grow lights use less electricity, last longer, and run even cooler—perfect if you're concerned about heat in tight spaces. Clip lamps offer flexibility; you position them exactly where needed and adjust as plants grow.
Aim for 200–400 micromoles per second (μmol/s) of photosynthetic photon flux density (PPFD) for herbs and leafy greens. Don't overthink it—most mid-range grow lights labeled "for herbs and vegetables" hit the mark. Use a timer so lights run 14–16 hours daily, mimicking natural day length.
Product Recommendations for Vertical Indoor Gardening
Here are the tools that actually work. Each product is chosen because it's reliable, affordable, and directly suited to vertical growing.
The Lechuza Classico 35 is a stunning self-watering planter that holds moisture for up to 12 days—perfect for wall-mounted systems where frequent watering is a hassle. The sleek design looks intentional, not utilitarian. Fill the water reservoir every 1–2 weeks and let the plant draw water as needed. Excellent for herbs that like consistent moisture without waterlogging.
→ Check Lechuza Classico 35 on Amazon
For a slightly smaller footprint, the Lechuza Classico 28 fits neatly on shelves or hanging systems. It has the same water-reserve technology, just in a more compact size. If you're building a tiered tower or a wall with multiple pots, this is an elegant choice that maintains consistent watering without daily attention.
→ Check Lechuza Classico 28 on Amazon
The Gardenix Self-Watering Planters are a budget-friendly alternative to Lechuza. They come in different sizes, drain to a reservoir, and work great for stacking vertically. Many growers build tiered systems with these—two or three stacked units take up minimal floor space but produce impressive harvests.
→ Check Gardenix Self-Watering Planters on Amazon
For wall-mounted systems, SiliFine Rectangular Planters are lightweight, stackable, and have excellent drainage. The wide-shallow design is perfect for herbs and leafy greens. Mount them in a grid, offset them staggered, or hang them in a cascade—they're versatile enough for any arrangement.
→ Check SiliFine Rectangular Planters on Amazon
The Cole & Mason Herb Keeper is a clever compendium of small pockets for individual herbs. Each pot is separate but contained in one vertical unit—gorgeous to look at and incredibly practical. Perfect for a kitchen counter or shelf, and it holds enough herbs to supplement your cooking for weeks.
→ Check Cole & Mason Herb Keeper on Amazon
For grow lights, the Barrina T5 LED Strips are efficient, low-heat, and perfect for hanging above vertical gardens. T5 bulbs are proven for seedlings and herbs. These strips come with daisy-chain connectors so you can link multiple units, and they run cool enough to position within inches of leaf tips without burning them.
→ Check Barrina T5 LED Strips on Amazon
The GooingTop Clip Lamp is a game-changer for modular vertical setups. Clip it to shelves, hanging rods, or stands and angle the light exactly where you need it. The flexible gooseneck means you adjust height and direction as plants grow. If you're building a shelf-based vertical garden, one or two of these above each tier gives you pinpoint lighting control.
→ Check GooingTop Clip Lamp on Amazon
For larger vertical setups, the VIPARSPECTRA LED Grow Light is a full-spectrum panel that hangs above your entire system. It's dimmable, energy-efficient, and designed to cover multiple tiers at once. The daisy-chain feature lets you link multiple units if you're building an ambitious vertical garden.
→ Check VIPARSPECTRA LED Grow Light on Amazon
If you want to try hydroponic vertical growing, the Sprouting System eliminates soil mess entirely. Water cycles continuously through planted pockets, and plants grow without soil—perfect for microgreens and fast crops. The vertical tower design is compact and produces multiple harvests per month.
→ Check Sprouting System on Amazon
Finally, a General Hydroponics pH Kit is essential for any serious grower. If you're using hydroponic systems or mixing nutrient solutions, pH matters—directly affecting how plants absorb nutrients. This test kit lets you measure and adjust easily, saving stunted growth and failed harvests.
→ Check General Hydroponics pH Kit on Amazon
Troubleshooting Common Vertical Garden Problems
Plants Stretching or Looking Pale
This is almost always a light issue. Plants reach toward light when there's not enough. Move grow lights closer (but not so close they burn leaves—usually 6–12 inches is safe), run them longer (16 hours vs. 12), or upgrade to a higher-wattage light. Watch for improvement within a week.
Yellow or Drooping Leaves
Overwatering, usually. Vertical systems can trap moisture, especially if drainage holes get clogged. Check that water drains freely from the bottom of pots. If soil feels soggy, let it dry out slightly between waterings. Self-watering pots prevent this by design.
Slow Growth or Tiny Leaves
Either nutrients are depleted or temperature is too cool. Feed with a mild liquid fertilizer (half-strength) every 2 weeks. Ensure room temperature stays between 65–75°F. Cold stresses vertical gardens more because water cools faster in thin containers.
Pests (Fungus Gnats, Aphids)
Indoor gardens can attract pests, especially in humid conditions. Improve airflow with a small fan, isolate affected plants immediately, and spray with insecticidal soap. Sticky traps (cheap and effective) catch flying pests before they spread.
Harvesting From Your Vertical Indoor Garden
Vertical gardens produce fast. Most herbs are ready to pinch in 3–4 weeks, microgreens in 1–2 weeks, and leafy greens in 4–6 weeks depending on variety and light.
Herb harvesting: Pinch off leaves from the top of stems. This encourages bushier growth. Never strip more than one-third of the plant at once—it needs leaves to photosynthesize and recover. Harvest frequently (2–3 times per week if you're using the kitchen regularly) and your herbs will keep producing for months.
Leafy greens and microgreens: Harvest by cutting at the soil surface with scissors or a small knife. Microgreens are quick one-shot harvests (you pull the whole plant). Leafy greens regrow if you leave roots intact—many varieties give 2–3 harvests before replanting.
Storage: Use harvested herbs and greens within a few days for peak flavor. Rinse gently, dry well (wet greens rot fast), and store in airtight containers in the fridge. Many herbs dry well too—hang bundles in a dark, warm corner and use them dried through winter.
Final Thoughts: Growing Up, Not Out
A vertical indoor garden isn't just a space-saving hack—it's a genuinely better way to grow. You get more plants in less space, less watering work with self-watering setups, and the satisfaction of fresh greens harvested minutes before cooking. Even in a studio apartment or office, you can cultivate an edible garden that looks fantastic and produces real food.
Start small. One wall-mounted planter or a single shelf with lights. Get comfortable with the rhythm—watering, watching growth, harvesting. Then expand. Stack another tier, add more lights, experiment with new plants. Within a month or two, you'll have a system that feels effortless and productive.
Ready to go deeper? Explore our guide to the best grow lights for indoor herbs for more detailed lighting strategies. Interested in the fastest crops? Check out our beginner's guide to microgreens—they're perfect for tower systems. And for traditional herb gardening without the vertical twist, learn which herbs thrive on windowsills.
Your vertical garden is waiting. Let's grow up.