Indoor gardening can feel intimidating, but what if you could grow something delicious and nutritious on your windowsill in less than two weeks? Welcome to the world of microgreens! These tiny, flavorful greens are the perfect introduction to growing your own food, no matter how little space you have.
This guide will walk you through everything you need to know, from picking your seeds to harvesting your first crop.
What Are Microgreens?
Microgreens are young vegetable greens that are harvested just after the first true leaves have developed. They're bursting with flavor, often more intense than their full-grown counterparts, and packed with nutrients. They're not to be confused with sprouts, which are germinated seeds that are eaten whole (seed, root, and shoot).
Why You'll Love Growing Microgreens:
- Fast and Easy: Go from seed to harvest in 7-14 days.
- Space-Efficient: A sunny windowsill is all you need.
- Nutrient-Dense: Studies show they can be up to 40 times more nutrient-rich than mature plants.
- Flavorful: Add a fresh, potent kick to salads, sandwiches, and soups.
What You'll Need
Getting started is simple and doesn't require expensive equipment.
- Seeds: Choose seeds specifically labeled for microgreens to ensure they are high quality and untreated. Great beginner options include broccoli, kale, radish, and sunflower.
- Growing Medium: A shallow tray or container (a recycled plastic clamshell container from the grocery store works great!).
- Soil: A fine, sterile potting mix or a soilless medium like coconut coir.
- Light: A sunny, south-facing window is ideal. If you don't have enough natural light, a simple LED grow light will work wonders.
- Water: A spray bottle for gentle watering.
→ Find Microgreens Seeds Variety Packs on Amazon
→ Check Microgreens Growing Kit Self-Watering on Amazon
Step-by-Step: Growing Your First Crop
Step 1: Prepare Your Tray
Fill your container with about 1-2 inches of moistened potting mix. Gently press it down to create a flat, even surface. Avoid compacting it too tightly.
Step 2: Sow Your Seeds
Sprinkle your seeds evenly across the surface of the soil. You want them to be dense, but not overlapping. There's no need to cover them with soil — they'll root just fine on top.
Step 3: The Blackout Period
For the first 2-3 days, your seeds need darkness to germinate properly. Lightly mist the seeds with water and cover the tray with a lid or another tray to block out the light. This "blackout period" encourages the seeds to sprout and grow strong roots.
Check on them daily and give them a light misting to keep the soil moist.
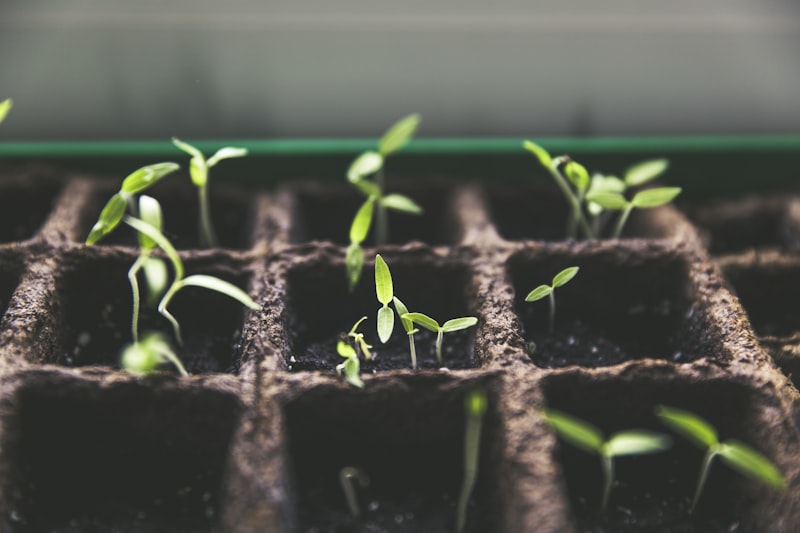
Step 4: Let There Be Light
Once you see tiny, pale sprouts emerging (usually after 2-3 days), it's time to introduce them to light. Remove the cover and place the tray in a sunny spot or under your grow light. You'll see them turn green and vibrant within a day.
Step 5: Watering
Continue to water your microgreens daily. To avoid damaging the delicate stems, it's best to water from the bottom. If your tray has drainage holes, place it in a larger tray of water for 10-15 minutes to allow the soil to soak up moisture from below. If not, a gentle misting will suffice.
Step 6: Harvest Time
Your microgreens are ready to harvest when they have developed their first set of true leaves, typically in 7-14 days. To harvest, use a sharp pair of scissors or a knife to cut the stems just above the soil line.
→ Check out herb scissors on Amazon
Enjoying Your Harvest
Rinse your microgreens gently and they're ready to eat. Add them to:
- Salads for a nutrient boost
- Sandwiches and wraps for a fresh crunch
- Soups and stews as a flavorful garnish
- Smoothies for an extra dose of vitamins
Store any unwashed, leftover microgreens in a sealed container in the refrigerator for up to a week.